
I purchased two plastic reusable bags with Dr. Seuss images on them, not knowing what I would use them for. Fast forward a few months. Thanks to the lovely marketers of Pottery Barn Kids, Doug and I fell in love with the idea of a Dr. Seuss bathroom. ( I mean seriously, look at this stock photo:
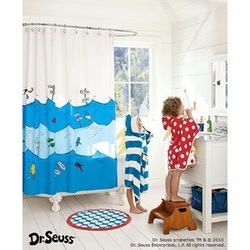
We knew we definitely wanted to purchase the shower curtain from Pottery Barn, but thought the high prices on the other accessories (including wall art) were crazy expensive! So an idea was born, I decided to try to make my own Seuss wall art using the very thrifty $1.00 bags I bought not so long ago!
Here is a tutorial and price breakdown of how I did it :)
Materials Needed:
Here is a tutorial and price breakdown of how I did it :)
Materials Needed:
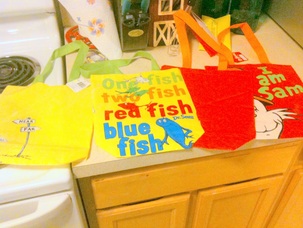
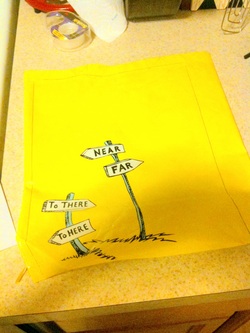
- 2 reusable Dr Seuss bags. ( or any character/design of your choosing!) The ones I chose had different images on both sides, allowing me to make 4 seperate pieces.
- 4 size appropriate frames that match the color palette of your artwork. We love IKEA and found these great colorful frames for only $1.99! (http://www.ikea.com/us/en/catalog/products/20117037)
- scotch tape
- scissors
- pen
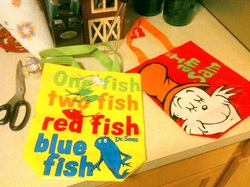
STEP ONE:
Cut along the side and bottom seams of the bags to create 4 separate pieces.
Also cut the handles off and set aside. (I chose not to do so, but if you wish you could attach the handles to the picture frame for hanging purposes)
Cut along the side and bottom seams of the bags to create 4 separate pieces.
Also cut the handles off and set aside. (I chose not to do so, but if you wish you could attach the handles to the picture frame for hanging purposes)
STEP TWO:
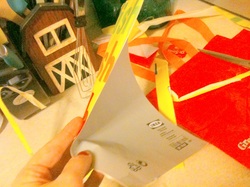
Remove the window of the frame and place it over the image of your bag. Using the window as a guide, trace along the edges with a pen. This will mark where you need to cut. Be sure to note how much of the edges of your images the frame covers!
Two of the bags I chose were a bit too wide to get the entire image in the frame, i just played around until I found a good spot to trace and cut.
Once you have a guide traced, cut the bag down to size and toss the rest.
STEP THREE:
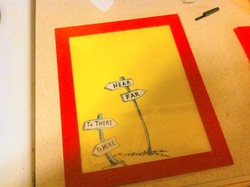
Using some scotch tape, attach your image to the paper insert that came with the frame. I found this provides some much needed stability to the corners that were originally folded down on the bottom of the bag.
NOTE: be sure to put the blank side of the paper against the back of your image, so you aren't seeing the marketing images through your art work! (i did this initially and had to swap it around!
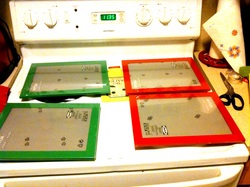
STEP FOUR:
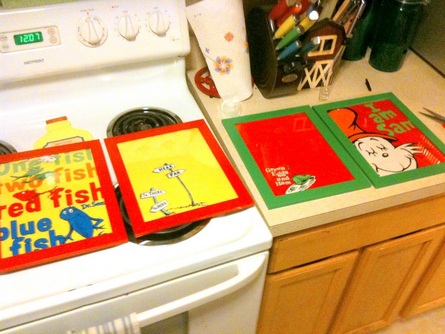
Insert your image into the frame and close it up in the back! You are ready to finish to others and hang on the wall!
Insert your image into the frame and close it up in the back! You are ready to finish to others and hang on the wall!
Finished Product:
PRICE BREAKDOWN:
**Once I finish my last few projects on our Dr. Seuss inspired bathroom, I will post photos! :) **
- Target Dr. Seuss bags $1.00 each x 2 = $2.00
- IKEA Frames $1.99 each x 4= $8.00
- I had the tape and scissors on hand. $10.00 of $2.50 each!
**Once I finish my last few projects on our Dr. Seuss inspired bathroom, I will post photos! :) **